
Tulum Treehouse
Architect: CO-LAB Design Office
Location: Yucatán peninsula, México
Software used: Adobe Photoshop, Autodesk 3DS Max, Corona Renderer

Conception
The initial idea of rendering the image was conceived from the inspiration of the works of Luis Barragán, who too inspired the architecture at Tulum treehouse. During my life in Mexico I developed a deep interest in the native Mexican culture both within the artistic and cultural sense, so when I found out that Tulum treehouse is the cultural loudspeaker it is and the ideas they represent (sustainability, unity, modernism, craftsmanship and that same profound culture) this interest sparked.
Process
The first step was to take the original image, put it into 3Ds Max and then to start adding boxes together to get a match of the real life geography onsite. The real life measurements are important so first, the regulations for the width of steps in Mexico were researched and the steps were built using those standards.These primitive shapes then served as a guideline / stepping stone in order to make more complex shapes. It is important to create more complex shapes so that there are not visible lines between the boxes and to ensure that the materials run smoothly.

The next thing to do was to set a material for the steps and to try and mimic the light that is portrayed in the image. To do this an HDRI image (from Poly Haven) was used, this is a 360° image used for 3D applications when one would like to demonstrate immersive, life-like shadows, light and reflections.

One HDRI was used, but different settings were set for the real light and for the direct override (what we see in the background)
Once the HDRI had been placed in the scene (twice), the Direct Override was then rotated to achieve a clear blue sky in the desired area. The real environment HDRI was then rotated so that the shadows would lined up in the right places. After this, the contrast, brightness, saturation, hue etc. was adjusted using a ‘Corona Colour Correct’ modifier to achieve a result as close as possible.
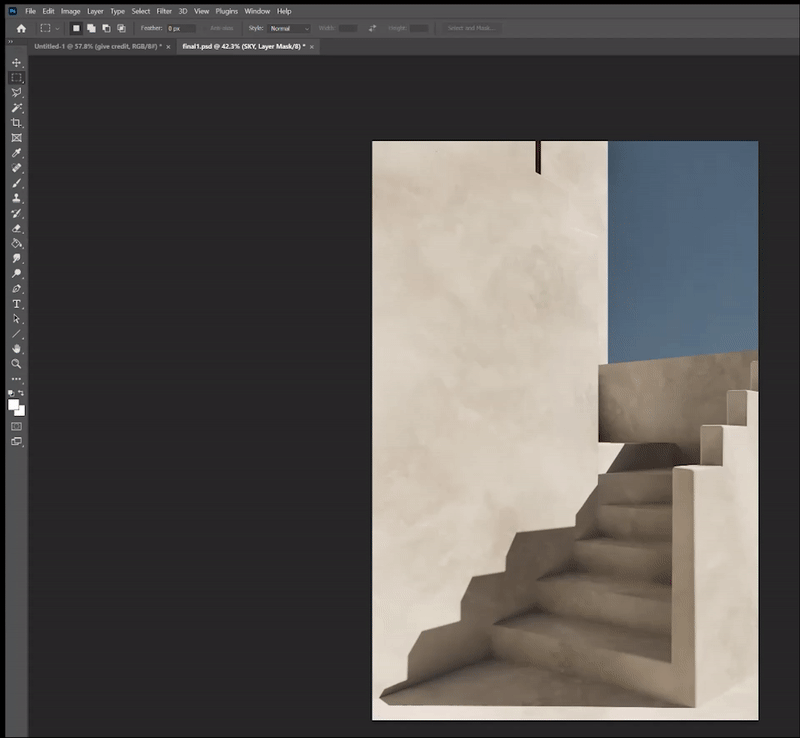
After the lighting was setup, the geography was golden and the materials had been applied, the image was then ready for post production. It was decided that the best way to do this was through multiple mediums (Corona Renderer and Adobe Photoshop). This was done by adjusting all the necessary post effects channels, but after that the sky still was not satisfactory which was then adjusted in Photoshop.

When the image was initially imported into photoshop this was done with the different elements it had been rendered it with, these would help to create masks and other effects. To adjust the sky, a simple gradient and mask were used. This helped create a dark outline in the corners which replicated that of the original image. Once the dark areas were positioned in the right places, the opacity of this layer was then adjusted so that the layer would not be so prominent and look more natural.


Below can be seen the image before Photoshop post effects and after.

The end.
Thanks for watching, please leave an appreciation and comment what you think. Any feedback is welcomed!


